A few years ago after my grandmother passed away, my mother and I went through her jewelry box together. She wore a lot more jewelry than either my mom or I do, but it was so nice to pick out a few special pieces. Both of us actually wore two of those necklaces on my wedding day, and it turns out my aunt did too.

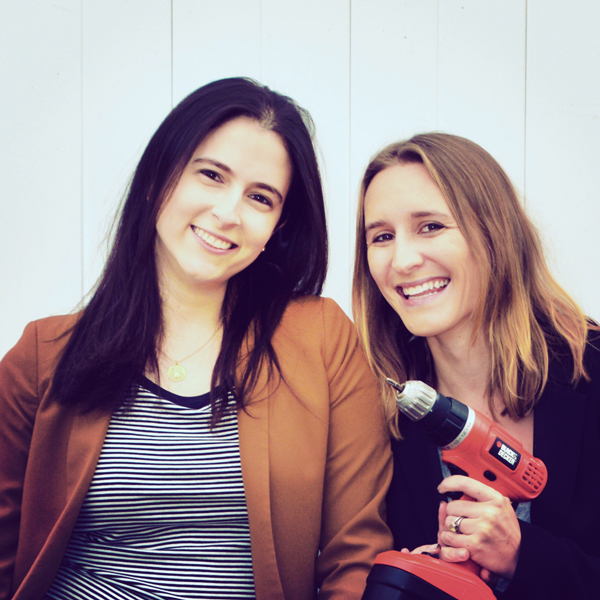
Photo credit: Orlando Claffey
In addition to necklaces, I also ended up with a lot of clip-on earrings. My grandmother didn’t have pierced ears, but she wore earrings every day and had quite a collection. Most of us have probably come across a lot of clip-ons in thrift and vintage stores, and I’m always so intrigued by how fun they are. But man, they’re a pain. How can they be both so tight that they make my ears hurt, and yet so precarious that I’m afraid they’ll fall off at any minute and I’ll lose them? I think I’ve invented a new paradox.
Anyway, that’s when it struck me: why don’t I just turn my clip-on earrings into regular old earrings? First, I bought some metal posts, backings, and dangles at Michaels for a few dollars: Then I proceeded to wait two years. But this past Saturday after spending the whole day on a long run, I was feeling bad that I hadn’t tackled any DIY projects and decided to take on this quick and easy project at long last. (Guilt and endorphins make me remarkably productive.)
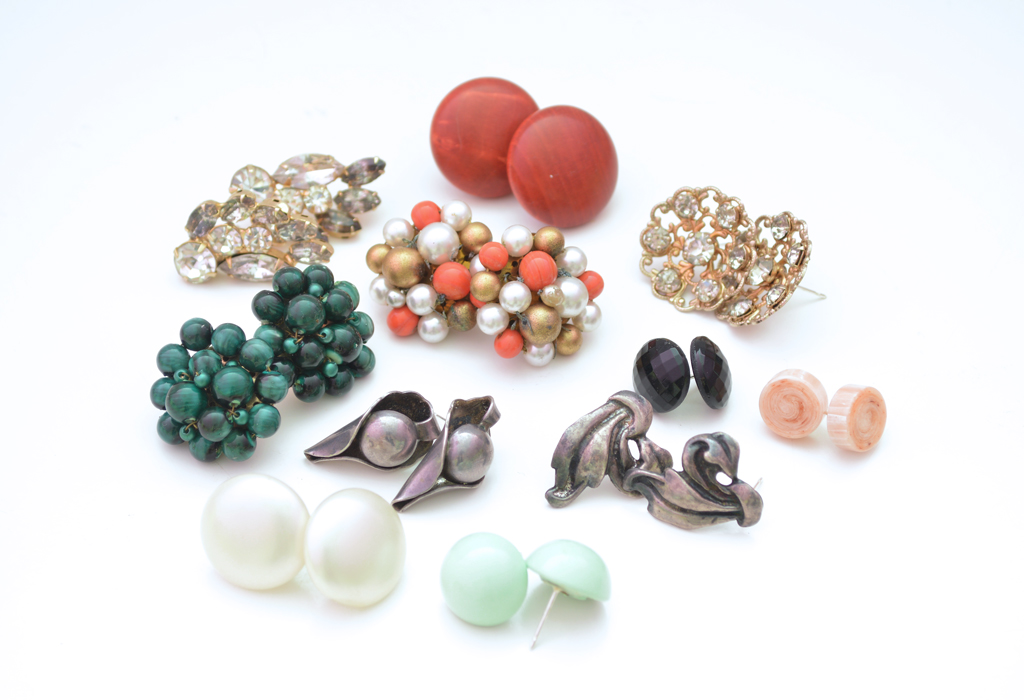
First I gathered up my earrings:
They all have slightly different clipping mechanisms, from the ones that clip softly, to the larger clips, to the ones with a little screw that you tighten.
These are probably my favorite, not shocking since I *do* have an obsession with turquoise: Then I assembled my supplies. Very straightforward:
- Strong glue (this is the one I used on my wedding guest favor magnets and more recently on our silverware starburst mirror, so I know it holds really well)
- Needle-nosed pliers (I’m sure people who make jewelry more often would suggest having special jewelry tools, but my pliers worked just fine thankyouverymuch)
- The posts, dangles, and backings I’d bought at Michaels
 Step One was to remove all the clip-on backings. I had no plan going into it, but it proved to be pretty easy — in most cases I just gave them a hard twist with my fingers or a yank with the pliers and they popped right off.
 In a few cases, I did have to break out my dremel with special metal cutting attachment (affiliate link — read our policies).
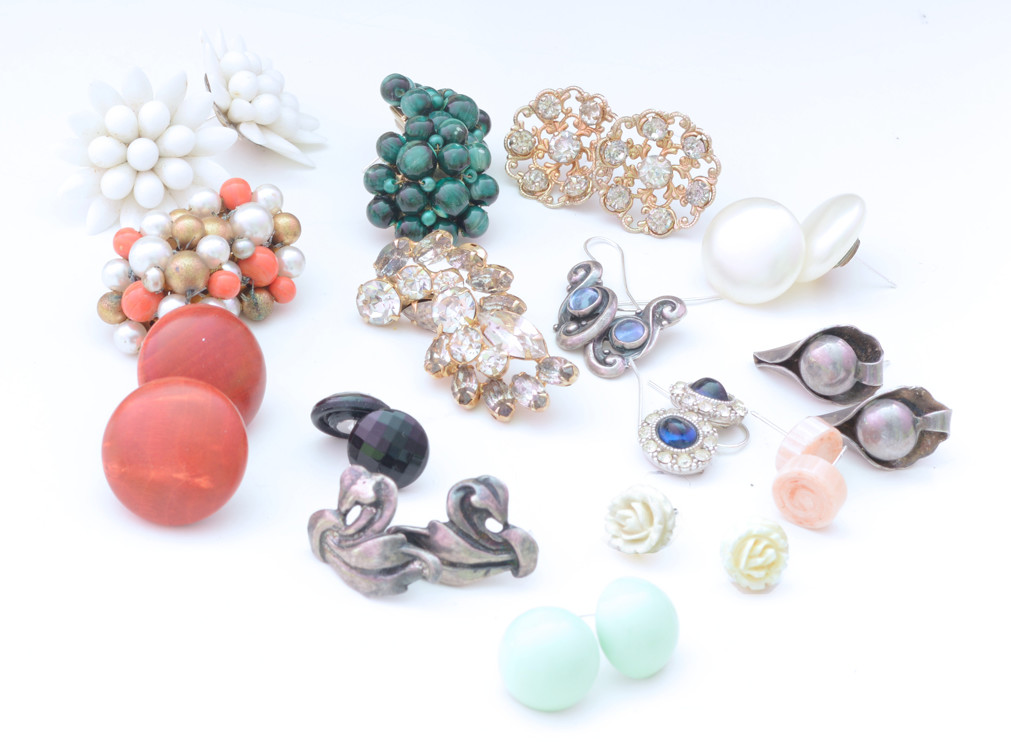
 But if you don’t have a dremel, you can still take on 75% of clip-on earrings — just be sure not to get the ones with the really thick clips, like these red ones:
 I was left with a beautiful pile of detached clips.
 I decided that I wanted most of the earrings to be studs rather than dangles, so Step Two was just flipping each earring upside down and placing a post on the back with a moderate dab of glue. For the larger earrings I thought it would be strange for the post to be in the exact center (because the earring would end up covering too much of my ear), so instead I glued the posts closer to the top. This was also helpful in cases where ripping off the clip had left an uneven surface in the center, since I didn’t have to worry about putting the new post directly on top of that part.
 I did make two of the pairs into dangles, just working with the architecture of the earring to figure out the best approach. For this pair there was a metal bar across the back that I could attach the dangle to:
 And for this pair I just left a portion of the original clip-on apparatus, slid it through the dangle eyelet, and then pressed it closed with my pliers.
 The glue I used is super strong, but dries really slowly so I just left everything to dry overnight. I also left the windows open, since the packaging is covered with warnings about how toxic it is. In the morning, I had a bunch of “new” earrings, ready to be worn! I’ve given all the backings a good yank, and all feel very secure — it’s very strong glue.

This is such a fast and easy project that requires minimal supplies. If you’ve been eyeing awesome vintage clip-ons but can’t actually stand to wear them, now there’s nothing holding you back!

(Sharing at That DIY Party, Two Uses Tuesday, A Bowl Full of Lemons, All Things Thursday, Think and Make Thursday, Weekend Retreat Link Party, Link Party Palooza, and Tip Me Tuesday – and Featured at Tip Junkie.)


 Using bricks from the patio, they created a beautiful flower bed along the back of the house. Eventually we may build a raised planter there once we get the patio situation sorted out, but that definitely isn’t a “this year” project and it’s so nice to have something colorful and alive there.


